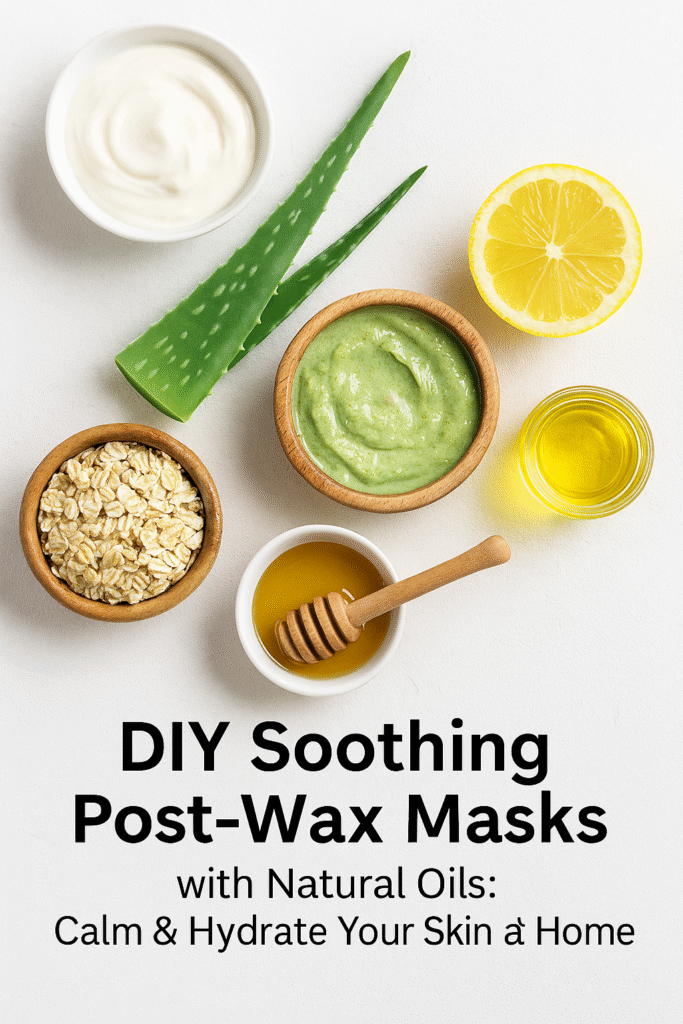
Waxing can leave your skin red, irritated, and feeling fragile. Instead of rushing out for expensive creams, you can whip up gentle, nourishing masks with ingredients you already have in your kitchen. In this deep-dive guide, you’ll learn why immediate post-wax care matters, discover the best natural oils for soothing, and master five easy DIY masks that will calm inflammation, lock in moisture, and extend your wax’s smooth results.
Why Post-Wax Care Makes All the Difference
After waxing, your pores are open and your skin barrier is temporarily compromised. Without the right care, you risk:
- Razor bumps and ingrown hairs
- Persistent redness and inflammation
- Dryness, flakiness, or tightness
- Bacterial infection in tiny micro-tears
A targeted post-wax mask:
- Seals moisture to rebuild the barrier
- Delivers anti-inflammatory nutrients
- Provides a cooling effect for instant relief
- Prepares the skin for easier hair regrowth
The Power of Natural Oils in Post-Wax Masks
Natural oils bring a wealth of skin-calming benefits:
- Rich in fatty acids to restore lipid barrier
- Antibacterial and antifungal agents to prevent infection
- Antioxidants that accelerate healing
- Lightweight textures that won’t clog pores
When combined with hydrating or soothing bases (like aloe vera or yogurt), oils transform into concentrated, spa-worthy masks for just pennies.
Top 6 Natural Oils for Post-Wax Soothing
- Coconut Oil
• Lauric acid fights bacteria and reduces redness
• Deeply moisturizing without heavy residue - Jojoba Oil
• Closely mimics skin’s natural sebum
• Balances oil production and calms inflammation - Rosehip Seed Oil
• High in vitamin A and C for cellular repair
• Improves texture and fades post-wax marks - Tea Tree Oil
• Powerful antiseptic to prevent ingrown hairs
• Use sparingly (2–3 drops per mask) - Sweet Almond Oil
• Soothes sensitive skin with vitamin E
• Light emollient that softens without greasiness - Argan Oil
• Packed with antioxidants and essential fatty acids
• Firms and plumps stressed skin
5 DIY Soothing Post-Wax Masks
1. Aloe Vera + Coconut Oil Mask
Ingredients
- 2 tablespoons pure aloe vera gel
- 1 tablespoon melted coconut oil
Instructions
- Mix until smooth.
- Apply a thin layer over waxed area.
- Leave on 10–15 minutes, then rinse with cool water.
Benefits: Instant cooling, deep moisture, antibacterial protection.
2. Honey + Yogurt + Chamomile Mask
Ingredients
- 1 tablespoon raw honey
- 1 tablespoon plain Greek yogurt
- 1 chamomile tea bag (steeped, cooled, 1 tablespoon liquid)
Instructions
- Stir all ingredients into a creamy paste.
- Gently massage onto the skin in circular motions.
- Let sit for 15 minutes, then rinse.
Benefits: Anti-inflammatory, gentle exfoliation, probiotic bacteria to calm irritation.
3. Oatmeal + Rosehip Oil + Turmeric Mask
Ingredients
- 2 tablespoons finely ground oats
- 1 teaspoon rosehip seed oil
- ¼ teaspoon turmeric powder
Instructions
- Combine and add just enough water to form a spreadable paste.
- Apply, avoiding direct contact with eyes.
- Remove after 10 minutes with a damp cloth.
Benefits: Oat soothes itching, turmeric reduces redness, rosehip regenerates skin cells.
4. Jojoba Oil + Tea Tree + Lavender Mask
Ingredients
- 1 tablespoon jojoba oil
- 2 drops tea tree oil
- 2 drops lavender essential oil
Instructions
- Blend oils in a small bowl.
- Warm between your palms and gently press onto skin.
- No rinse needed—let it fully absorb.
Benefits: Antibacterial, calming scent, perfect for tiny nicks or bumps.
5. Shea Butter + Calendula Infusion Mask
Ingredients
- 1 tablespoon melted shea butter
- 1 teaspoon calendula oil (or infusion)
Instructions
- Whisk together and cool for a thicker consistency.
- Spread a thin layer on waxed regions.
- Rinse after 20 minutes or leave overnight for ultra-repair.
Benefits: Intense barrier repair, anti-inflammatory, rich emollients.
How to Use Post-Wax Masks Safely
- Always patch-test new ingredients on your forearm.
- Apply masks within 30 minutes of waxing for best results.
- Use lukewarm or cool water to rinse—hot water can worsen inflammation.
- Follow up with a light, fragrance-free moisturizer and SPF if the area is exposed.
- Limit masks to 2–3 times per week to avoid over-treating delicate skin.
Pro Tips for Maximum Relief
- Chill ingredients (like aloe gel or yogurt) in the fridge before mixing for extra soothing.
- Add a few drops of vitamin E oil to any mask for enhanced antioxidant power.
- Swap in cucumber juice or rose water to customize your base.
- Gently exfoliate with a soft washcloth before masking to boost absorption.
- Document your skin’s reaction—share before & after photos with #SoothingWaxMask to inspire fellow DIYers.
Frequently Asked Questions
Q: Can I use these masks on my bikini line?
Yes, but opt for gentler blends (aloe + coconut or shea + calendula) and skip active botanicals that might sting.
Q: How soon can I wax again after using these masks?
Wait at least 48 hours post-wax to ensure the barrier is restored and less prone to irritation.
Q: What if I still see bumps after masking?
Try a single-ingredient oil soak (e.g., jojoba or argan) nightly until bumps subside. Avoid tight clothing.
Related Topics
- 10 Must-Have Oils for Sensitive Skin After Waxing
- The Science Behind Aloe Vera: Why It Heals Post-Wax Burns
- How to Prevent and Treat Ingrown Hairs Naturally
- Step-by-Step Guide to At-Home Waxing 101
- Top 5 Fragrance-Free Moisturizers for Post-Hair Removal Care
By harnessing the calming power of natural oils and simple whole-food ingredients, you can transform post-wax discomfort into a spa-style ritual that’s kind to your wallet and skin. Which DIY soothing mask will you try first? Share your experience and photos below to help our glow-getters community thrive!
